Step-by-Step Guide: Building Charming Farmhouse Signs for Your Home
Farmhouse signs are a popular and charming addition to home decor, adding a touch of rustic elegance that can instantly transform any space. Whether you’re a seasoned DIY enthusiast or a beginner eager to explore your creative side, building farmhouse signs for your home is a rewarding and enjoyable project. In this step-by-step guide, we’ll take you through the process of creating your own charming farmhouse signs, allowing you to customize them to match your unique style and taste.
Step 1: Gather Your Materials
Before diving into the project, gather all the necessary materials. You’ll need a wooden plank or board (choose the size that suits your space), sandpaper, acrylic paint or wood stain, paintbrushes, stencils or vinyl lettering, painter’s tape, a pencil, and a ruler. Ensure you have a well-ventilated workspace and cover it with old newspapers or a drop cloth to protect surfaces from spills.
Step 2: Prepare the Wooden Surface
If your wooden plank has rough edges or imperfections, start by sanding it down until it feels smooth to the touch. Wipe away any dust with a clean cloth or tack cloth to ensure a clean painting surface.
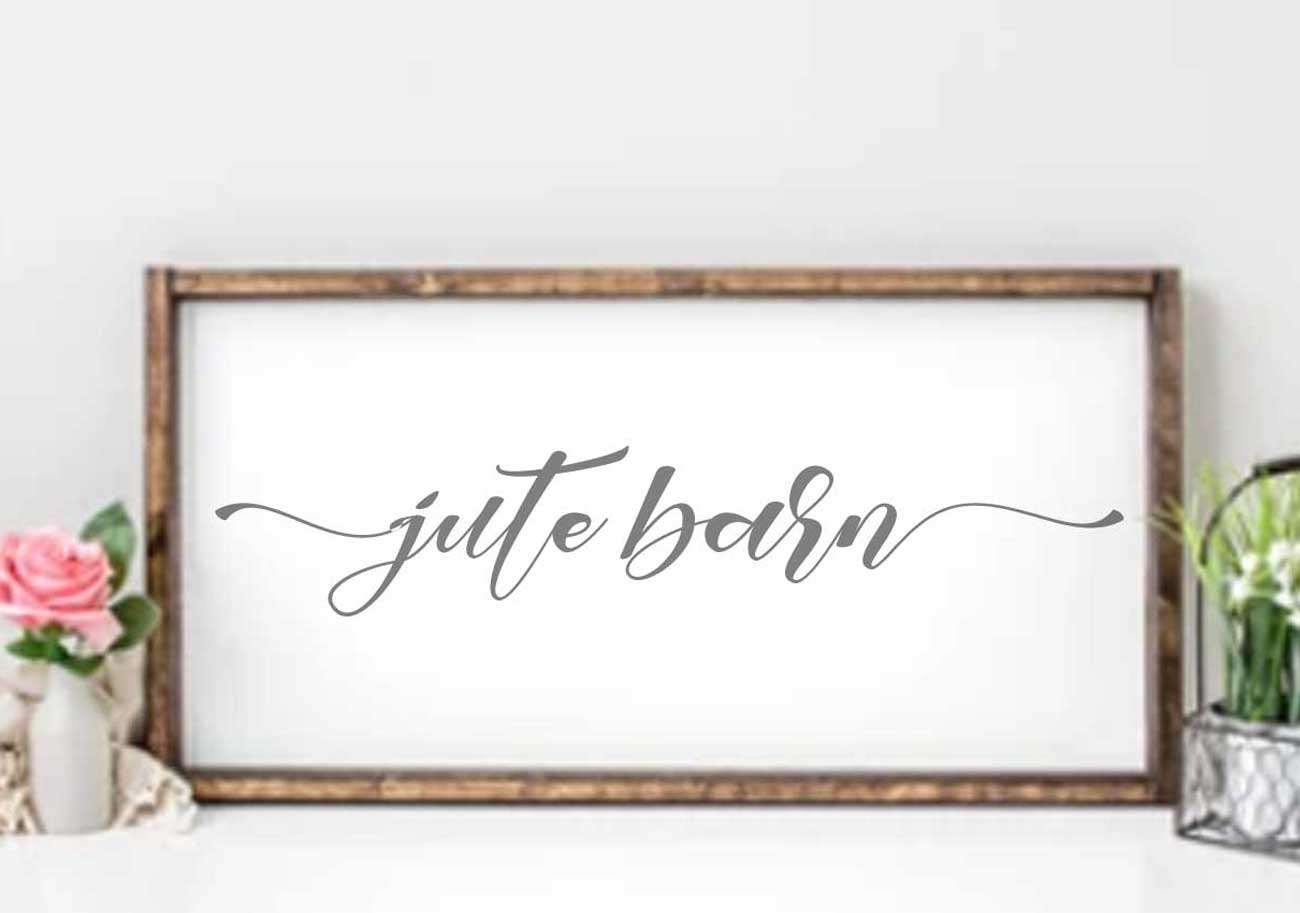
Step 3: Choose Your Design
Now comes the fun part—deciding on the design for your farmhouse sign. You can go for classic farmhouse quotes, family names, or personalized messages. You can find stencils or vinyl lettering at craft stores or create your own custom designs using stencils or a vinyl cutter. Once you have your design, position it on the wooden plank and use painter’s tape to secure it in place.
Step 4: Paint or Stain the Wood
Decide whether you want a painted or stained background for your farmhouse sign. If you choose to paint, apply a base coat of acrylic paint in your preferred color using a paintbrush. For a more weathered look, consider using a dry brush technique or distressing the paint after it dries. If you prefer a stained look, apply wood stain using a clean cloth, following the manufacturer’s instructions.
Step 5: Add Your Lettering or Design
With the base coat dry (for painted signs) or the stain set (for stained signs), carefully peel off the stencils or vinyl lettering. If there are any rough edges or bleeding, use a small brush and some matching paint or stain to touch up the design.
Step 6: Optional: Add Decorative Elements
To add extra charm and character to your farmhouse sign, consider incorporating some decorative elements. You can glue on wooden accents, attach small metal pieces, or add a distressed frame around the sign for a more finished look.
Step 7: Seal the Sign
To protect your farmhouse sign and give it a polished finish, apply a clear sealant or varnish. This step is crucial, especially if the sign will be displayed outdoors or in high-traffic areas.
Step 8: Display and Enjoy!
Once the sealant is dry, your charming farmhouse sign is ready to be displayed. Hang it on a wall, place it on a shelf, or lean it against a mantel—it’s all up to your creativity and the space you have in mind. Step back and admire your handiwork, knowing that you’ve created a beautiful piece of decor that adds warmth and character to your home.
Conclusion
Building charming farmhouse signs for your home is a delightful and fulfilling DIY project that allows you to infuse your living space with a touch of rustic allure. With this step-by-step guide, you can confidently embark on the creative journey of designing and crafting your own personalized farmhouse signs. Whether you’re looking to add a cozy accent to your living room or a warm welcome at your entryway, your farmhouse signs will be a testament to your creativity and craftsmanship, bringing joy and a sense of home to all who admire them.

Elyssa McGregor
Hi, I'm Elyssa. A blogger of "the life that I live" hoping to help others in similar situations. Lover of food, dogs, and a fighter when challenged by health issues and anxiety.